Drying Wet Plaster and Lath Walls in Historic DC Homes

BYSteve Jafari, General ManagerWASHINGTON DC & SOUTHERN MARYLAND
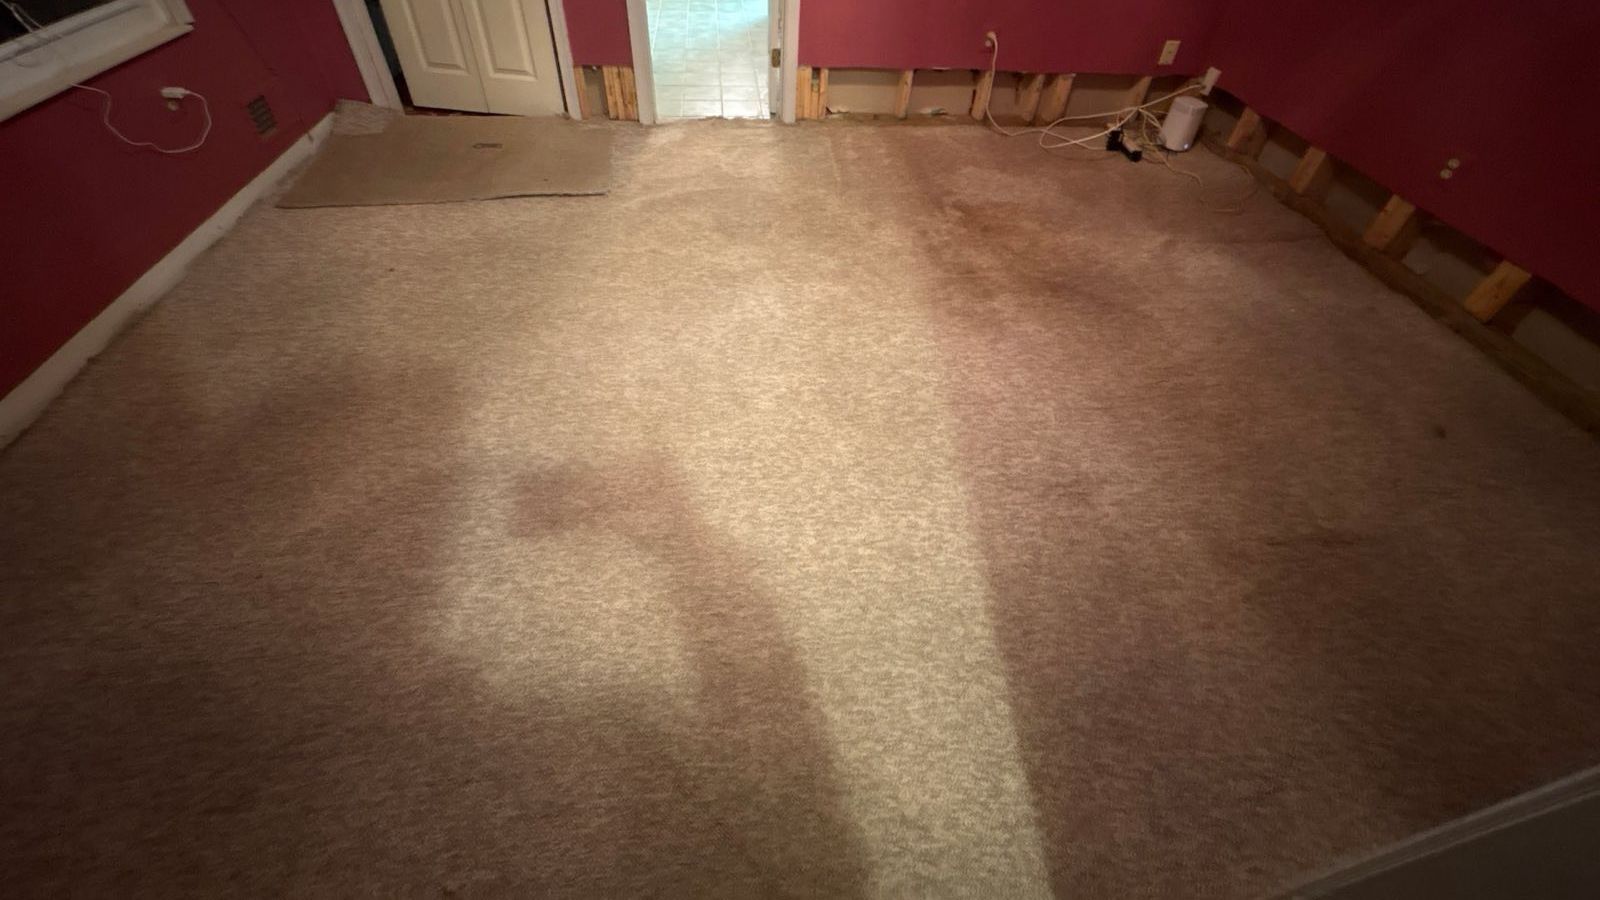
Wet plaster wall drying in DC is usually possible without demolition if the walls are dried quickly to verified moisture standards using controlled airflow, dehumidification, and sometimes cavity drying. Plaster holds water far longer than drywall because it is dense and sits over wood lath, so the process is monitored daily with moisture meters rather than guessed by the calendar. Saving original plaster preserves the character of historic row houses, condos, and English basements — but material that is delaminated, crumbling, or contaminated by Category 3 water may still need removal.
Call (202) 922-1444Can wet plaster and lath walls be saved after water damage?
Yes — wet plaster and lath walls can usually be saved after water damage, as long as the plaster is still structurally bonded to the lath and drying begins before mold and delamination set in. In many historic DC homes, the original three-coat plaster is more water-tolerant than modern drywall and can be dried in place rather than torn out.
The deciding factors are how long the material stayed wet, what category of water reached it, and whether the plaster has separated from its wood lath backing. Plaster that is still firm, flat, and keyed to the lath is a strong candidate for in-place drying. Plaster that is sagging, bubbling, or crumbling under light pressure has usually lost its mechanical bond and may need targeted removal.
Restoration Doctor approaches historic plaster with a preservation-first mindset: we document moisture conditions, dry to verified standards, and only recommend removal where the material or the health of the wall cavity genuinely requires it. The goal is to keep as much original fabric as possible while following the ANSI/IICRC S500 Standard for Professional Water Damage Restoration.
Why does plaster hold water longer than drywall?
Plaster holds water longer than drywall because it is far denser and sits in a layered wall assembly that traps moisture. A traditional DC plaster wall is a system: wood lath nailed to the studs, a scratch coat and brown coat pushed through the gaps to form 'keys,' and a smooth finish coat on top. Water has to migrate out through all of those dense layers plus the wood lath behind them.
Unlike gypsum drywall, which wicks and releases moisture relatively quickly, lime and gypsum plaster is a high-density mineral material. It can feel dry to the touch on the face while the brown coat and the lath behind it stay saturated for days. The wood lath itself absorbs and stores water, acting like a sponge inside the wall. That is why surface readings alone are never enough — meters have to probe at depth, and the cavity behind the plaster has to be evaluated.
This is also why plaster requires patience and measurement rather than assumptions. A wall that looks dry can still read wet deep in the assembly, and closing a wall up prematurely is one of the most common causes of hidden mold in older DC homes.
- Plaster is dense mineral material that releases moisture slowly through multiple layers
- Wood lath behind the plaster absorbs and stores water like a sponge
- The finish coat can feel dry while the brown coat and lath stay saturated
- Older walls may have lead or oil-based paint that further slows evaporation at the surface
- Deep moisture readings, not surface feel, determine when a wall is truly dry
How do you dry wet plaster and lath walls without removing them?
You dry wet plaster and lath walls by creating the right balance of airflow, temperature, and low humidity around the assembly, then monitoring moisture at depth every day until it reaches a verified dry standard. The process follows psychrometric principles under ANSI/IICRC S500 — move saturated air away from the surface, pull moisture out of the room with dehumidification, and keep working the cavity until the wood lath and brown coat read dry, not just the face.
Because plaster is slow to release water, drying often combines surface airflow with cavity drying. Technicians may remove baseboard and drill small, discreet holes low on the wall to push dry air into the stud bays and behind the lath, so moisture is not trapped where it cannot escape. In homes with decorative or irreplaceable plaster, these access points are chosen so they are hidden behind trim and easily patched.
Throughout the process, moisture is logged daily with pin and pinless meters and compared against a dry baseline from an unaffected wall. Drying runs until those readings confirm the material has returned to normal — never on a fixed calendar. Our water damage restoration team documents each day's progress with CompanyCam photos and moisture logs so the condition of the wall is recorded over time.
- Air movers directed along wall surfaces to accelerate evaporation
- Commercial dehumidifiers to pull released moisture out of the room
- Cavity drying through hidden access points behind baseboard or trim
- Daily pin and pinless moisture readings compared to a dry baseline
- Drying continued until verified dry standards are met, not a set number of days
When should historic plaster be removed instead of dried?
Historic plaster should be removed instead of dried when it has physically failed or been contaminated by unsanitary water. If the plaster has delaminated from the lath — meaning the keys have broken and the material is sagging or bulging away from the wall — drying cannot restore the bond, and that section needs careful removal and replacement.
Water category also drives the decision. Category 1 water from a clean supply line gives plaster the best chance of being saved. But Category 3 water — sewage backups, toilet overflows containing waste, or rising flood water — carries contaminants that soak into porous plaster and the wood lath behind it, and those materials generally cannot be safely cleaned in place. In those cases, removal follows Category 3 contamination protocols under S500 rather than a dry-in-place approach.
One more consideration in DC's older housing stock: plaster walls in homes built before 1978 frequently carry lead-based paint, so any removal has to be planned with safe work practices rather than treated as simple demolition. The table below summarizes the typical save-versus-remove decision for plaster in a historic DC home. Final calls are always made on site, after moisture and structural assessment.
| Condition | Typical action |
|---|---|
| Firm plaster, still keyed to lath, clean water | Dry in place and preserve |
| Minor staining, bonded, dries to standard | Dry, then repaint or patch finish coat |
| Sagging, bulging, or crumbling plaster (keys broken) | Remove failed section, preserve surrounding original |
| Contaminated by Category 3 (sewage) water | Remove under contamination protocols |
| Persistent moisture that will not reach dry standard | Open the assembly, dry the cavity, replace unsalvageable material |
How do you prevent mold behind wet plaster walls?
You prevent mold behind wet plaster walls by drying the entire assembly — including the wood lath and stud cavity — to verified dry standards before the wall is closed up or repainted. Mold needs moisture, organic material, and time; wet wood lath provides both the food and the water, so removing the moisture quickly is the whole game.
The risk with plaster is that its dense surface can hide a saturated cavity. If a wall is painted or sealed while the lath behind it is still damp, mold can colonize unseen and only reveal itself later through musty odors or staining. That is why cavity moisture — not just surface readings — must confirm dry conditions, and why drying is monitored daily rather than assumed complete.
Where mold has already begun to grow, the work shifts to containment and remediation under the ANSI/IICRC S520 Standard for Professional Mold Remediation rather than simple drying. Our mold remediation process isolates the affected area, removes contaminated material, and verifies the space is clean before any restoration or repainting begins. In DC's older housing stock — especially English basements and below-grade walls prone to humidity — this step protects both the structure and the people living in it.
How does drying plaster protect the character of a historic DC row house?
Drying plaster in place protects the character of a historic DC row house by preserving the original wall surfaces, plaster moldings, medallions, and the subtle hand-finished texture that drywall replacement simply cannot replicate. Once original plaster is demolished, that irreplaceable material and craftsmanship are gone for good.
Many of DC's row houses, Victorian townhomes, and converted condos in neighborhoods like Capitol Hill, Georgetown, and Dupont Circle were built with plaster that is integral to their architectural value — and sometimes relevant to historic-district review when repairs touch protected features. Keeping that plaster intact maintains the proportions of picture rails, deep window reveals, and curved or coved ceilings that modern board walls flatten out.
There is also a practical benefit: in-place drying is generally less disruptive than gutting a wall, replacing lath with board, and trying to feather new material into old. When original plaster can be dried and the finish coat repaired, the wall keeps its continuity. Preservation and sound building science point in the same direction here — dry first, remove only what truly cannot be saved.
Does insurance cover plaster wall drying in historic homes?
Plaster wall drying is often covered when the water damage comes from a sudden, accidental event such as a burst pipe or appliance failure, though coverage always depends on the specific policy and cause of loss. Restoration Doctor does not interpret your policy or negotiate with your insurer — we focus on the restoration work and give you the documentation to support your own claim.
We are hired directly by the property owner under a written agreement, and we bill the homeowner directly. What we provide is a detailed record of the loss: an Xactimate scope of the work, CompanyCam photo documentation, and daily moisture logs showing the drying progress. That paperwork is what you or your adjuster can use to evaluate the claim.
For historic homes, thorough documentation matters because preserving plaster rather than replacing it needs to be justified with evidence of condition and drying. If you have questions about how claims and documentation work, our FAQ page explains how we hand project records to homeowners, and you can always reach us through our contact page.
What should you do first when plaster walls get wet?
The first thing to do when plaster walls get wet is stop the water source and remove standing water, then call for professional drying before the plaster and lath stay saturated long enough to delaminate or grow mold. Time is the single biggest factor in whether original plaster can be saved.
Shut off the supply valve or main if the water is coming from plumbing, and move furniture and valuables away from the wet wall. Do not drill, scrape, or aggressively dry wet plaster yourself with heat — rapid, uneven drying can crack a finish coat, and poking at saturated plaster can break the keys that hold it to the lath. Gentle, controlled airflow and dehumidification are what the material needs.
Because plaster hides moisture so well, the safest move is an on-site assessment with moisture meters to map how far the water traveled. Professional drying and any needed repair typically run in the thousands, and the price depends on how much water intruded, how far it spread through the assembly, how much material has to be removed, and how many days of monitored drying the walls require — the real figure comes after an on-site inspection. Restoration Doctor offers 24/7 emergency response across Washington, D.C. and Southern Maryland, so plaster walls can start drying before the damage deepens. Call (202) 922-1444 to get started.
- Stop the water source — close the supply valve or main
- Remove standing water and move belongings away from wet walls
- Do not scrape, drill, or apply high heat to saturated plaster
- Call for a professional moisture assessment as soon as possible
- Begin controlled drying quickly to preserve the plaster-to-lath bond