Kitchen Floods in DC Row Houses: Supply Lines and Dishwashers

BYSteve Jafari, General ManagerWASHINGTON DC & SOUTHERN MARYLAND
A kitchen flood in DC most often comes from a failed supply line or a leaking dishwasher, and the real damage happens out of sight: under cabinets, in the subfloor, and in the ceiling below. Key takeaways: shut off the water first; save the failed part; document before cleanup; and expect drying to be judged by moisture readings, not by a calendar. Water that sits in cabinet bases and subfloor cavities degrades materials and can support mold growth if it is not dried to verified standards, so call a licensed restoration company quickly. Document everything from the first minute so your carrier-ready claim file is complete.
Call (202) 922-1444Why does a kitchen flood in a DC row house cause so much hidden damage?
A kitchen flood in a DC row house does more hidden damage than it appears to because the water leaves the visible floor almost immediately and travels into places you cannot see: under cabinet bases, into the subfloor, down through floor joists, and along shared walls. A puddle that looks like a mop-and-towel problem can be saturating several layers of building material at once.
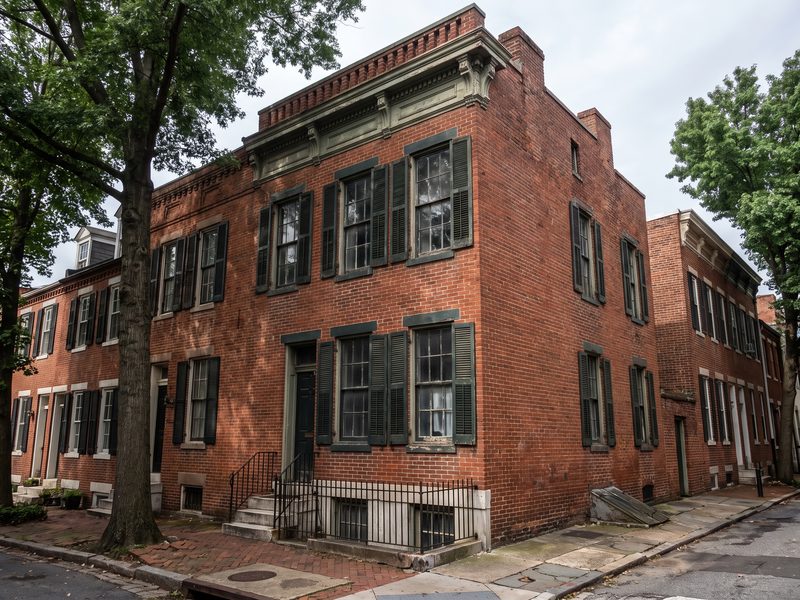
The housing stock matters here. Many D.C. row houses were built in the early to mid 1900s with wood-framed floors, plaster-and-lath or drywall ceilings, narrow floor plans, and kitchens at the back of the house that have been remodeled several times. Each remodel tends to add a layer: new flooring over old subfloor, new cabinets over old walls, new plumbing routed through old chases. Water finds the seams between those layers and wicks into them.
Many homes also have a finished English basement or garden-level unit directly below the kitchen. When the kitchen floor is breached, water often drips through recessed lights, plaster seams, and plumbing penetrations into that lower unit. Condos and townhomes add another wrinkle, because water can cross into a neighbor's unit through a shared wall or ceiling and turn one homeowner's leak into a multi-party claim.
Kitchens are also the most plumbing-dense room in most houses. A sink supply, a dishwasher inlet, a refrigerator ice-maker line, a disposal, and sometimes a gas range all sit within a few feet of each other, usually behind closed cabinet doors where nobody checks them. That combination of concealed plumbing, absorbent materials, and old framing is why prompt professional drying matters so much.
How do supply lines and dishwashers cause kitchen floods?
Supply lines and dishwashers cause kitchen floods through a handful of predictable failures: braided supply hoses that burst at the crimp or corrode inside the braid, loose or worn compression fittings, cracked dishwasher inlet valves, degraded door gaskets, and clogged or kinked drain hoses that push water back out. Many of these start as slow, hidden leaks long before they become sudden floods.
Braided stainless supply lines look durable, but the stainless mesh is only a sleeve over an inner rubber or plastic tube. The inner tube ages, and the coupling nuts can corrode, especially in older kitchens where the line has been in place for many years. When the tube fails, it often fails at full line pressure, and an unattended failure can discharge a large volume of water in a short time, particularly if no one is home.
Dishwashers fail differently. The inlet valve can stick open or crack, the pump housing and hose clamps can leak slowly, and a drain loop that is not properly set can allow dirty water to flow backward from the disposal or drain line. Slow dishwasher leaks are especially damaging because they keep the cabinet base and subfloor under the machine wet for weeks. Typical signs are swollen toe kicks, soft flooring near the dishwasher, or a musty smell with no visible puddle.
Ice-maker lines to the refrigerator, under-sink filtration systems, and pot-filler faucets are the other common culprits in DC kitchens. If any of these has been installed or serviced recently, check the connection first when you find unexplained water.
- Burst or corroded braided supply lines under the sink
- Cracked or stuck dishwasher inlet valves
- Worn door gaskets and loose hose clamps on the dishwasher
- Clogged or poorly looped dishwasher drain hoses
- Refrigerator ice-maker lines and under-sink filter fittings
- Loose compression fittings that weep slowly behind cabinets
What should I do in the first hour after a kitchen flood?
In the first hour after a kitchen flood, shut off the water at the nearest fixture valve or the main, cut power to the wet area only if it is safe to do so, and start documenting. The goal is to stop the source, protect people, and preserve evidence for your claim before cleanup changes the scene.
If you cannot reach the fixture shutoff, close the main water valve. In many D.C. row houses the main is in the basement or near the front wall where the service enters, so learn its location before you need it. If water is near outlets, appliances, or the electrical panel, do not stand in it. Shut off power at the breaker only if you can reach the panel without wading through water; otherwise call an electrician or emergency responder.
Once the water is off, photograph and video the source, the failed part, the wet cabinets, the floor, and any ceilings below. Keep the failed supply line or hose if you can, since a carrier may want to see it. Move small items and rugs out of the water, but do not tear out cabinets or flooring before documentation, because those materials are part of your evidence.
Then call a licensed restoration company for emergency extraction and moisture assessment. Standing water can be removed quickly, but what matters most is the moisture you cannot see. You can reach Restoration Doctor of Washington DC at (202) 922-1444 around the clock.
- Shut off the water at the fixture valve or main
- Avoid wading through water near outlets, appliances, or the panel
- Photograph and video the source, damage, and rooms below
- Save the failed hose, valve, or part
- Remove small valuables and loose items from wet areas
- Do not use a household vacuum on standing water, and do not pull up flooring before documenting
- Call a licensed restoration company for extraction and moisture mapping
What water category is a dishwasher or supply line leak?
A clean supply line leak starts as Category 1 water, while a dishwasher leak is often Category 1 or Category 2 depending on whether the water came from the supply side or the wastewater side. Under ANSI/IICRC S500, the category can also worsen over time as water sits in contact with building materials and picks up contaminants and microbial growth.
Category 1 water originates from a sanitary source such as a pressurized supply line. Category 2, sometimes called gray water, carries significant contamination that can cause illness, and dishwasher drain-back or water from a disposal can fall into that range. Category 3 is grossly contaminated, such as sewage or water from a backed-up drain line, and requires stricter containment and removal protocols. If your kitchen flood involved a sewer or drain backup, see our sewage cleanup service.
The category determines what can be dried in place and what must be removed. Porous materials contaminated by Category 2 or 3 water, such as carpet pad, insulation, and some cabinet components, are often removed rather than dried. A slow leak that has been wetting a cabinet base for weeks may no longer qualify as clean water, because time, temperature, and microbial growth can change the classification.
A technician makes this call on site by considering the source, duration, and condition of the affected materials. That is why an accurate assessment matters more than assuming a leak is just clean water.
| Water category | Typical kitchen source | General response |
|---|---|---|
| Category 1 (clean) | Burst supply line, faucet line, ice-maker line caught quickly | Extract and dry in place when materials are still salvageable |
| Category 2 (significant contamination) | Dishwasher drain-back, disposal overflow, long-standing leak | Extract, clean and treat surfaces, remove porous materials such as pad or insulation |
| Category 3 (grossly contaminated) | Sewage or drain backup into the kitchen | Strict containment, removal of affected porous materials, cleaning and disinfection |
How far does water travel from a kitchen in a row house or condo?
Water from a kitchen leak can travel well beyond the room: through the toe kicks and cabinet bases, across and into the subfloor, down through floor penetrations into the ceiling below, and laterally along joist bays and shared walls. In attached DC housing, that often means other units or the basement are involved.
Gravity pulls water down, but capillary action pulls it sideways and up. Water wicks into the bottom of drywall and plaster, into the end grain of hardwood flooring, and along framing members. A kitchen next to a party wall can push moisture into a neighbor's side, and a kitchen above an English basement frequently sends water down through the ceiling cavity around plumbing and lights.
Layered flooring makes this harder. Vinyl or tile over a plywood underlayment over old board subfloor can trap water between layers, where it stays wet long after the surface looks dry. Cabinets installed on top of finished flooring, which is common, hold water under the box where nothing can evaporate.
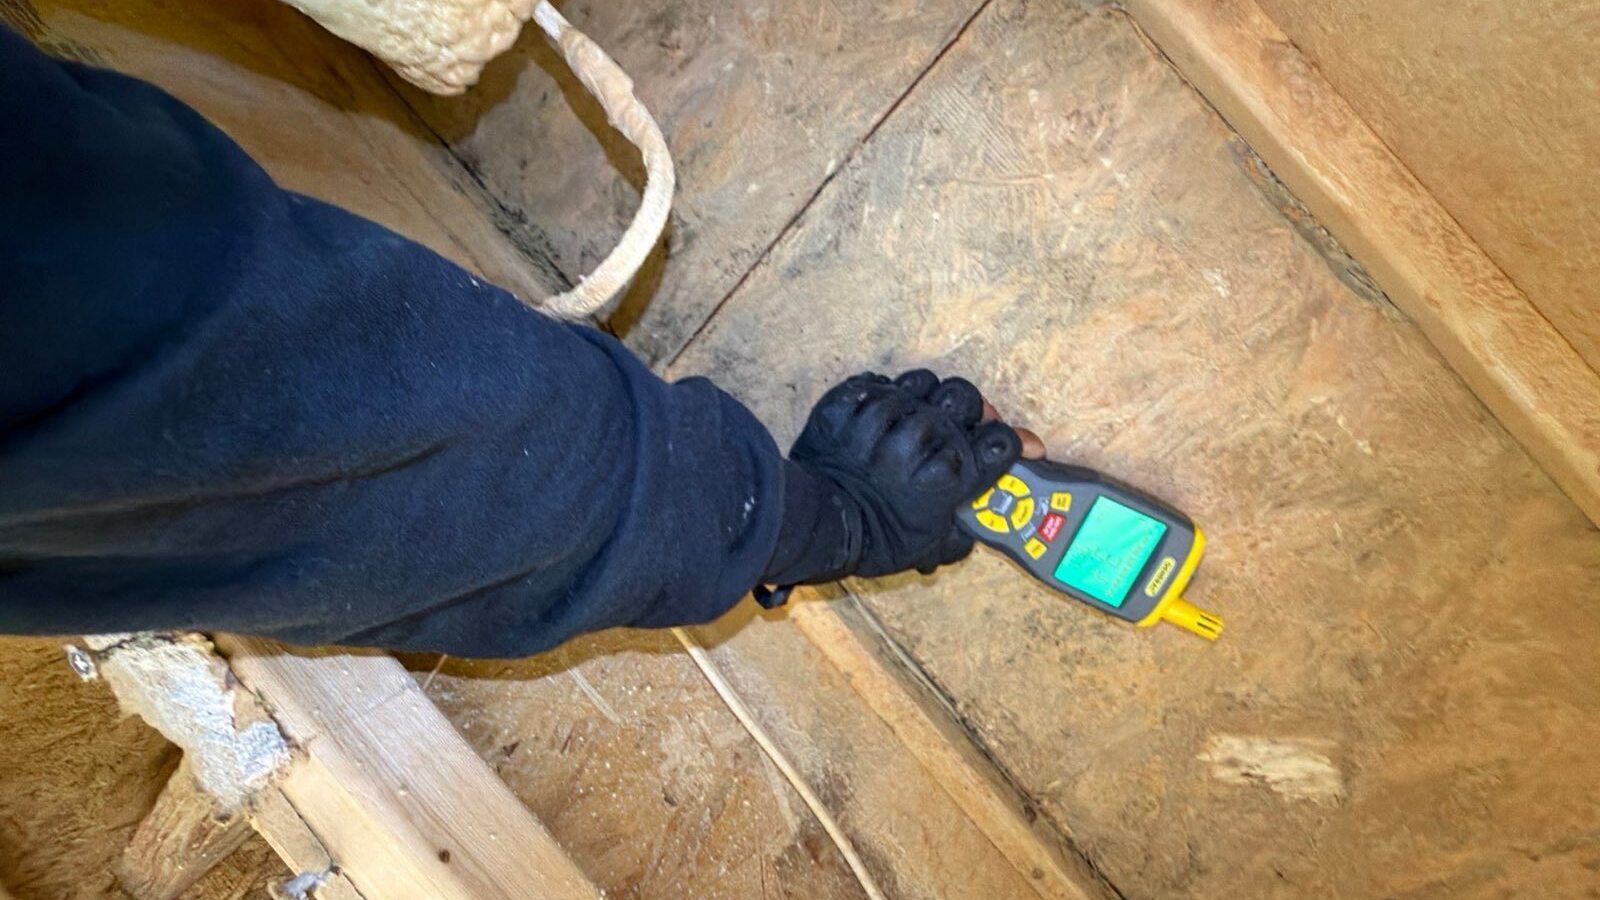
For that reason, a proper assessment includes moisture mapping beyond the visible damage. Technicians use moisture meters and thermal imaging to trace the wet boundary, then verify the outer limits are dry. If the unit below is occupied, it is worth coordinating early, since that unit's damage may be part of the same event.
- Under and behind base cabinets and toe kicks
- Between layers of flooring and into the subfloor
- Down into the ceiling cavity of a basement or lower unit
- Along joist bays and into adjoining rooms
- Into shared or party walls in townhomes and condos
How is a flooded kitchen dried, and what happens to cabinets and subfloors?
A flooded kitchen is dried by extracting standing water, mapping moisture, opening concealed cavities, and running controlled drying equipment until moisture meters read at verified dry standards, with readings logged every day. The process is driven by measurements, not a calendar, so no one can credibly promise a fixed number of days up front.
Drying follows the principles of psychrometry in ANSI/IICRC S500: control temperature, humidity, and airflow so that water in building materials evaporates into the air and is then removed by dehumidification. Air movers push dry air across wet surfaces, and low-grain refrigerant (LGR) or desiccant dehumidifiers pull the vapor out of the room. Evaporating water into a closed, humid room without removing it only moves the problem around.
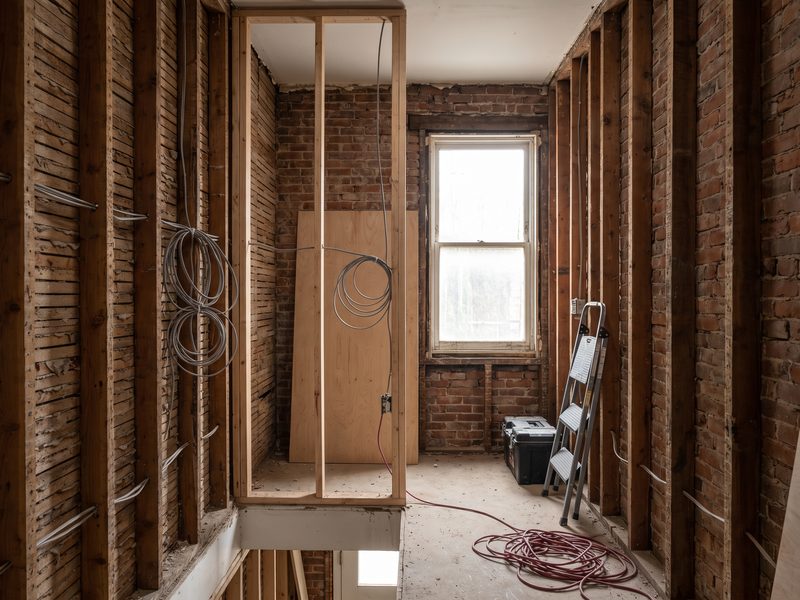
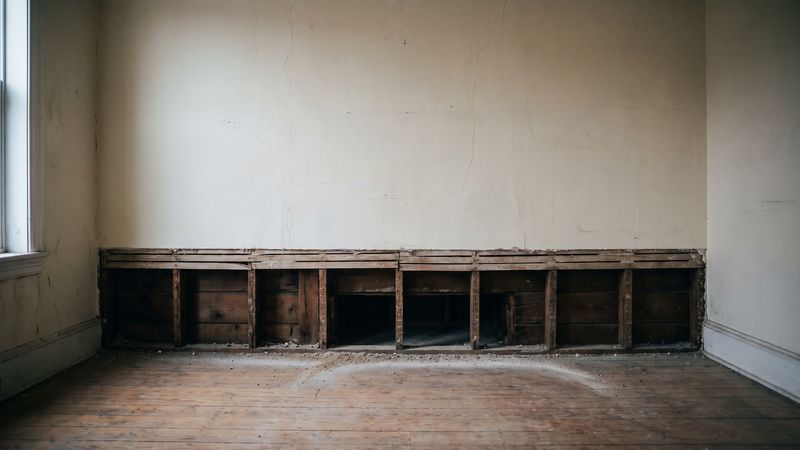
Cabinets and subfloors usually need targeted access. Technicians often remove toe kicks, drill small ventilation holes in cabinet bases, lift sections of flooring, and sometimes use injection or cavity drying systems to move air into enclosed spaces such as the bay under a dishwasher or between cabinet and wall. The goal is to dry the structure in place wherever the material is salvageable and remove it where it is not.
Material type decides the outcome. Solid wood and plywood often dry successfully if treated promptly. Particleboard and MDF, common in modern cabinet boxes and shelves, swell when saturated and rarely return to their original shape. Engineered and laminate flooring often delaminates, while solid hardwood can cup and may be saved if dried carefully. Plaster typically dries well but needs monitoring for staining and bonding issues.
The dry standard is set by comparing readings in the affected area to readings from unaffected material of the same type in the same home. Drying is complete when affected materials meet that benchmark and the daily log proves it, not when the surface feels dry to the touch.
| Material | Typical response | Common outcome |
|---|---|---|
| Plywood subfloor | Absorbs water slowly, dries with access and airflow | Often dried in place if addressed promptly |
| Particleboard or MDF cabinet boxes | Swells and loses strength | Frequently replaced |
| Solid wood cabinets | More tolerant of moisture | Often dried and retained if not long saturated |
| Laminate or engineered flooring | Delaminates and buckles | Often removed |
| Solid hardwood flooring | May cup or crown | Sometimes dried and refinished, depending on exposure |
| Plaster or drywall ceilings below | Stains, sags, or softens | Dried if sound, removed if saturated or contaminated |
How do I handle the insurance claim after a kitchen flood in DC?
To handle the claim after a kitchen flood in DC, notify your carrier promptly, mitigate the damage so it does not worsen, and keep a complete record of the loss from the first photograph to the final dry log. Restoration Doctor works for you, not your insurance company. We bill you, the homeowner, directly and give you a carrier-ready claim file to submit.
That file includes an Xactimate scope of the work, CompanyCam photo documentation of the conditions and the process, and daily moisture logs that show readings moving toward dry standards. Carriers generally want to see cause of loss, extent of damage, and proof that mitigation was reasonable and necessary. Daily readings and dated photographs answer those questions better than an after-the-fact description.
Coverage varies by policy, and the details matter. Many homeowner policies cover sudden and accidental discharge from a burst line but treat long-term, repeated seepage differently, which is one reason to find and document the source quickly. Policies also commonly distinguish between the resulting water damage and the cost to repair or replace the failed part itself, such as the hose or dishwasher. Condo and townhome residents should also check what the association's master policy covers versus the unit owner's HO-6 policy, since the boundary between them is often at the drywall or the fixtures.
We cannot promise what a carrier will pay, and we do not speak for your insurer. What we can do is make sure the documentation is thorough and the scope is clear so you can present your claim with confidence. For common questions about the process, see our FAQ page. We serve Washington, D.C. and Southern Maryland, and our DC license is DLCP #410524000721.
If a neighbor or a lower unit was affected, notify your carrier of that as well and keep communication in writing. Ask your restoration team to document conditions in any affected adjoining space you have permission to access.
- Report the loss to your carrier promptly
- Photograph the source, the failed part, and all affected rooms before cleanup
- Keep receipts for emergency services and temporary repairs
- Request the Xactimate scope, photo set, and daily moisture logs
- Check whether your association's master policy or your HO-6 covers the damaged components
- Keep all communication with the carrier and neighbors in writing
How can I prevent a kitchen flood in my row house?
You can prevent most kitchen floods by replacing aging supply lines, inspecting the dishwasher and under-sink connections regularly, and installing leak detection where you cannot see. These steps are inexpensive compared with a loss that reaches the subfloor and the unit below.
Start with the supply lines. Look at every braided line under the sink, behind the dishwasher, and at the refrigerator for rust, bulging, kinks, mineral crust, or damp spots at the fittings. Replace lines that show wear, and consider replacing older ones on a schedule rather than waiting for a failure. Use properly rated fittings and have a licensed plumber handle any work you are not comfortable doing.
Next, check the dishwasher. Run a cycle while you watch for water at the door, pull the toe kick to look at the base, and confirm the drain hose has a proper high loop or air gap. Look at the floor near the machine for soft spots, discoloration, or lifting edges, which indicate a slow leak.
Finally, add monitoring. Water sensors placed under the sink, behind the dishwasher, and near the refrigerator can alert you before water spreads, and automatic shutoff valves can stop a failure on their own. If you travel, close the water supply to the kitchen or the whole house first. Know where your main shutoff is, and make sure everyone in the household does too.
- Inspect and replace aging braided supply lines
- Check the dishwasher base, door gasket, and drain loop
- Look for soft flooring or swollen toe kicks near appliances
- Install leak sensors under the sink and behind appliances
- Consider an automatic shutoff valve
- Know the location of your main water shutoff