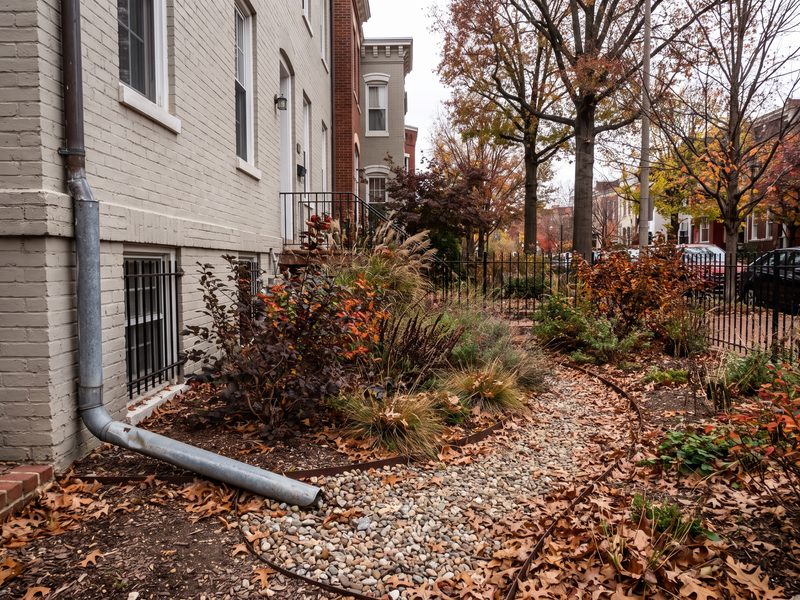
Where Is the Water Shutoff Valve in a DC Row House? Find It First
BY RESTORATION DOCTOR OF WASHINGTON DC · WASHINGTON DC & SOUTHERN MARYLAND
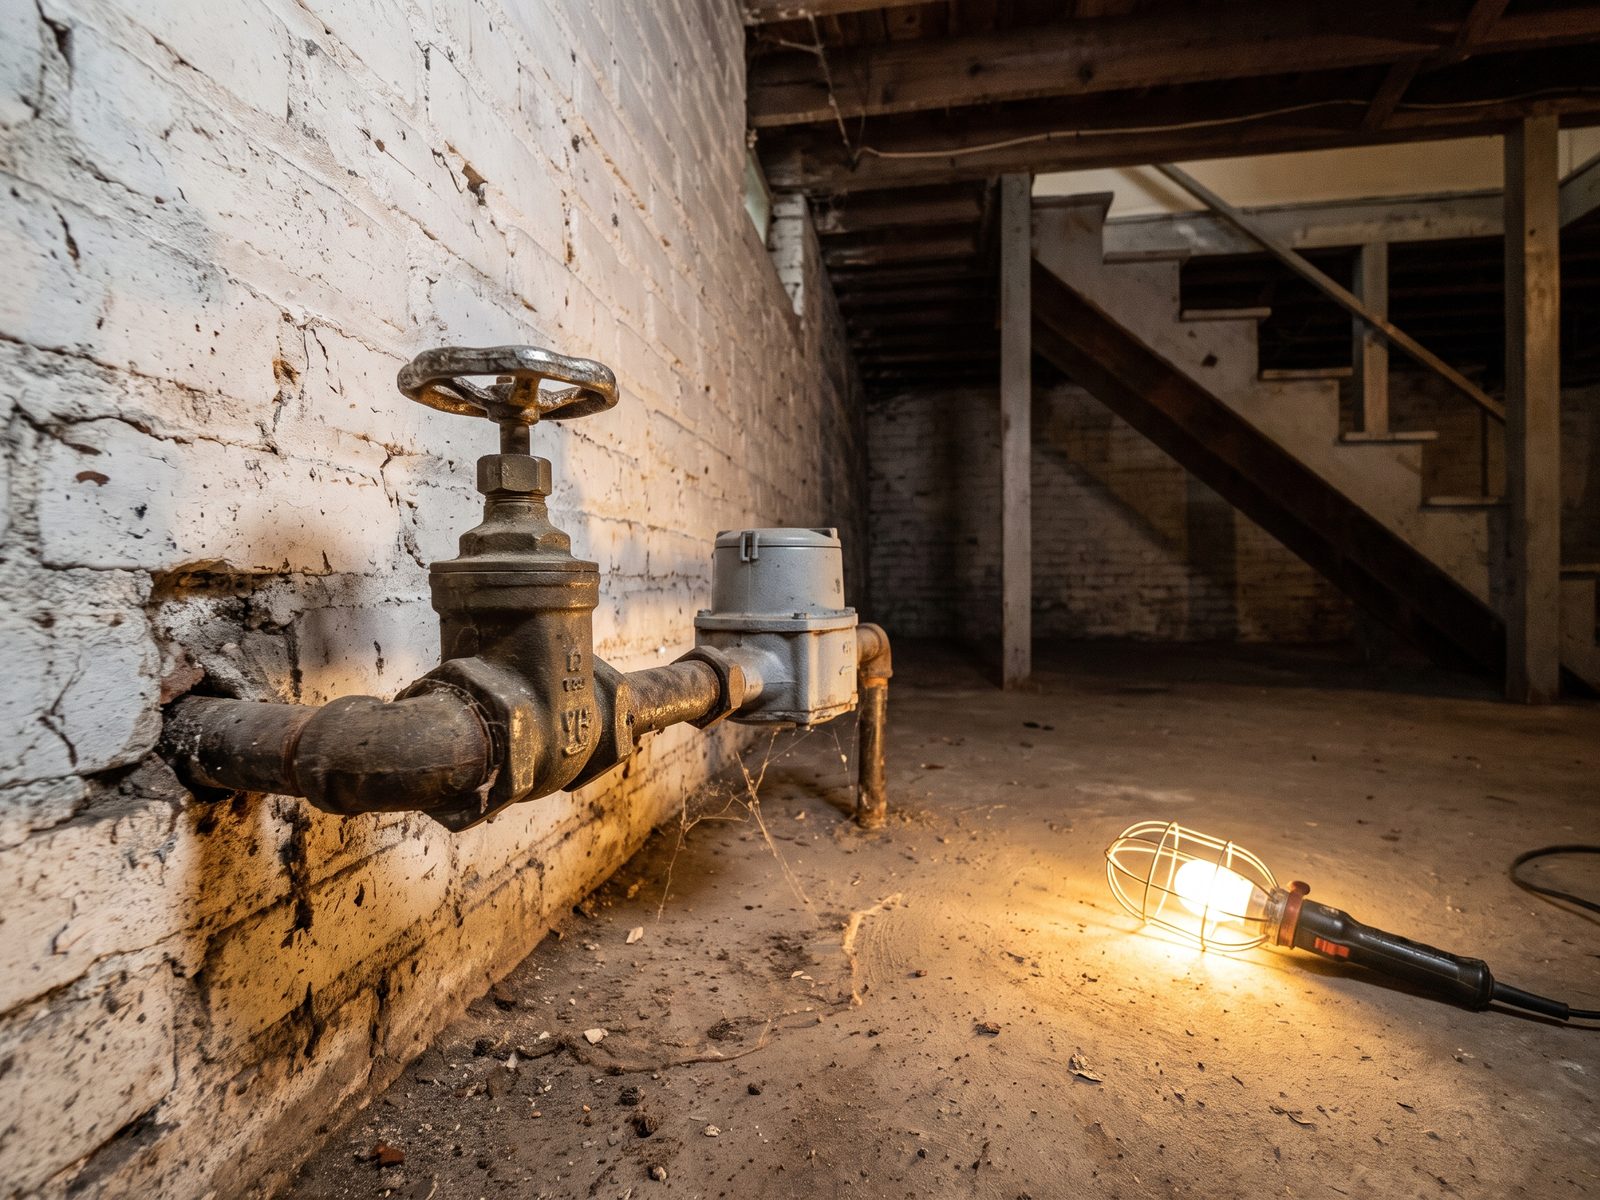
In most DC row houses the main shutoff sits near where the service line enters the English basement, often behind stored goods or the boiler, and in condos the only working valve may belong to the building. Find it, test it gently, label it, and tell everyone in the house, because an unfound valve turns a ten-minute leak into a multi-room loss.
Call (202) 922-1444Why does finding the shutoff before an emergency matter so much?
If you are asking where is the water shutoff valve in a row house, the answer for most of the District is simple. It sits within a few feet of where the service line comes through the front foundation wall of the basement, usually beside the meter. Go stand in front of it today, while nothing is wrong.
A supply line under pressure moves real volume every minute it stays open, and the damage tracks how long the water ran. A laundry hose closed quickly is a wet floor and a few fans. The same hose running while someone hunts for a valve in a dark basement becomes wet ceilings below and saturated plaster.
Row houses make that search harder. The basement is often unfinished and low, with storage everywhere, so the valve ends up behind a shelving unit or a stack of paint cans. Lighting is one pull chain. Add midnight panic and a valve thirty seconds away in daylight takes fifteen minutes to find.
Where is the main shutoff in a typical DC row house?
Start at the front of the house at basement level. District water service usually enters from the street side, through the front foundation wall, close to the sidewalk and low to the floor. On older houses the meter sits just inside and the main valve is within arm's reach of it.
You are looking for one of two shapes. An old gate valve has a round handwheel and needs many turns to close. A newer ball valve has a straight lever that closes in a quarter turn. Houses that have had a service upgrade usually have the lever. Older houses may still have the wheel, sometimes painted the same color as the pipe.
In many row houses the meter was moved outside years ago, into a pit under the front walk. The interior valve is still there, just no longer next to a meter, so people walk past it.
- 1. Go to the basement and find the front wall, the one nearest the street.
- 2. Look low, from the slab to four feet up, for a pipe through the wall.
- 3. Trace that pipe inward. The first valve on it is almost always the main.
- 4. Check behind the boiler, the water heater and the laundry tub.
- 5. Clear whatever is stored in front of it.
- 6. Photograph the valve and the wall around it.
- 7. Confirm it sits upstream of the water heater branch.
- 8. Have a second person walk to it unaided.
- 9. Hang a flashlight and gloves within reach.
- 10. Note the location in your phone for whoever is home when you are not.
What if there is no interior valve you can find?
It happens, more often in the District's older stock than people expect. A valve can be buried behind a finished wall, lost above a dropped ceiling, or pulled during an old repipe and never replaced.
Before deciding there is none, check the places that hide it: a closet under the front stairs, an access panel in a basement bathroom, a coal-chute alcove. A valve set into a wall cavity behind a screwed-on cover plate reads as an electrical box until you open it.
If a careful search turns up nothing, treat that as a defect and have a licensed plumber look before winter. Fitting a main shutoff is routine work, and far cheaper scheduled than performed during a flood. Ask for a lever-handle ball valve rather than another handwheel.
- Behind a stud wall built during a basement finish, with no access panel left
- Above a dropped ceiling or soffit in a converted English basement
- Inside an understair closet or a bricked alcove near the front wall
- Under the sink cabinet of a basement half bath added later
- Removed during an old repipe, leaving no interior main at all
What is a curb stop and should you ever touch it?
The curb stop is the utility's valve. It sits in a small box set into the sidewalk in front of the house, usually under a round lid. It controls the service line where that line leaves the water main, and it is the valve of last resort when nothing inside the building works.
We tell homeowners to leave it alone. The curb stop is reached through a lid set into the public sidewalk, it is meant to be turned with a long utility key rather than a wrench, and the seats on old ones are brittle. Forcing one with an improvised tool can break the valve or damage the meter, and the repair then happens in public space on the utility's schedule instead of yours. DC Water's own preparedness page does describe using the box near the street, so treat that as a last resort rather than a first move.
The correct move is to call DC Water's emergency line and report a leak you cannot shut off from inside. The utility's own emergency page tells residents to contact DC Water for instructions when water has to be shut off, and the operator will tell you whether a crew is coming or whether this is a plumber's job. While you wait, work from inside: close individual fixture valves, move contents clear. Knowing where the curb box sits still helps, because you can point a crew at it in the dark.
Where is the shutoff in a DC condo or co-op unit?
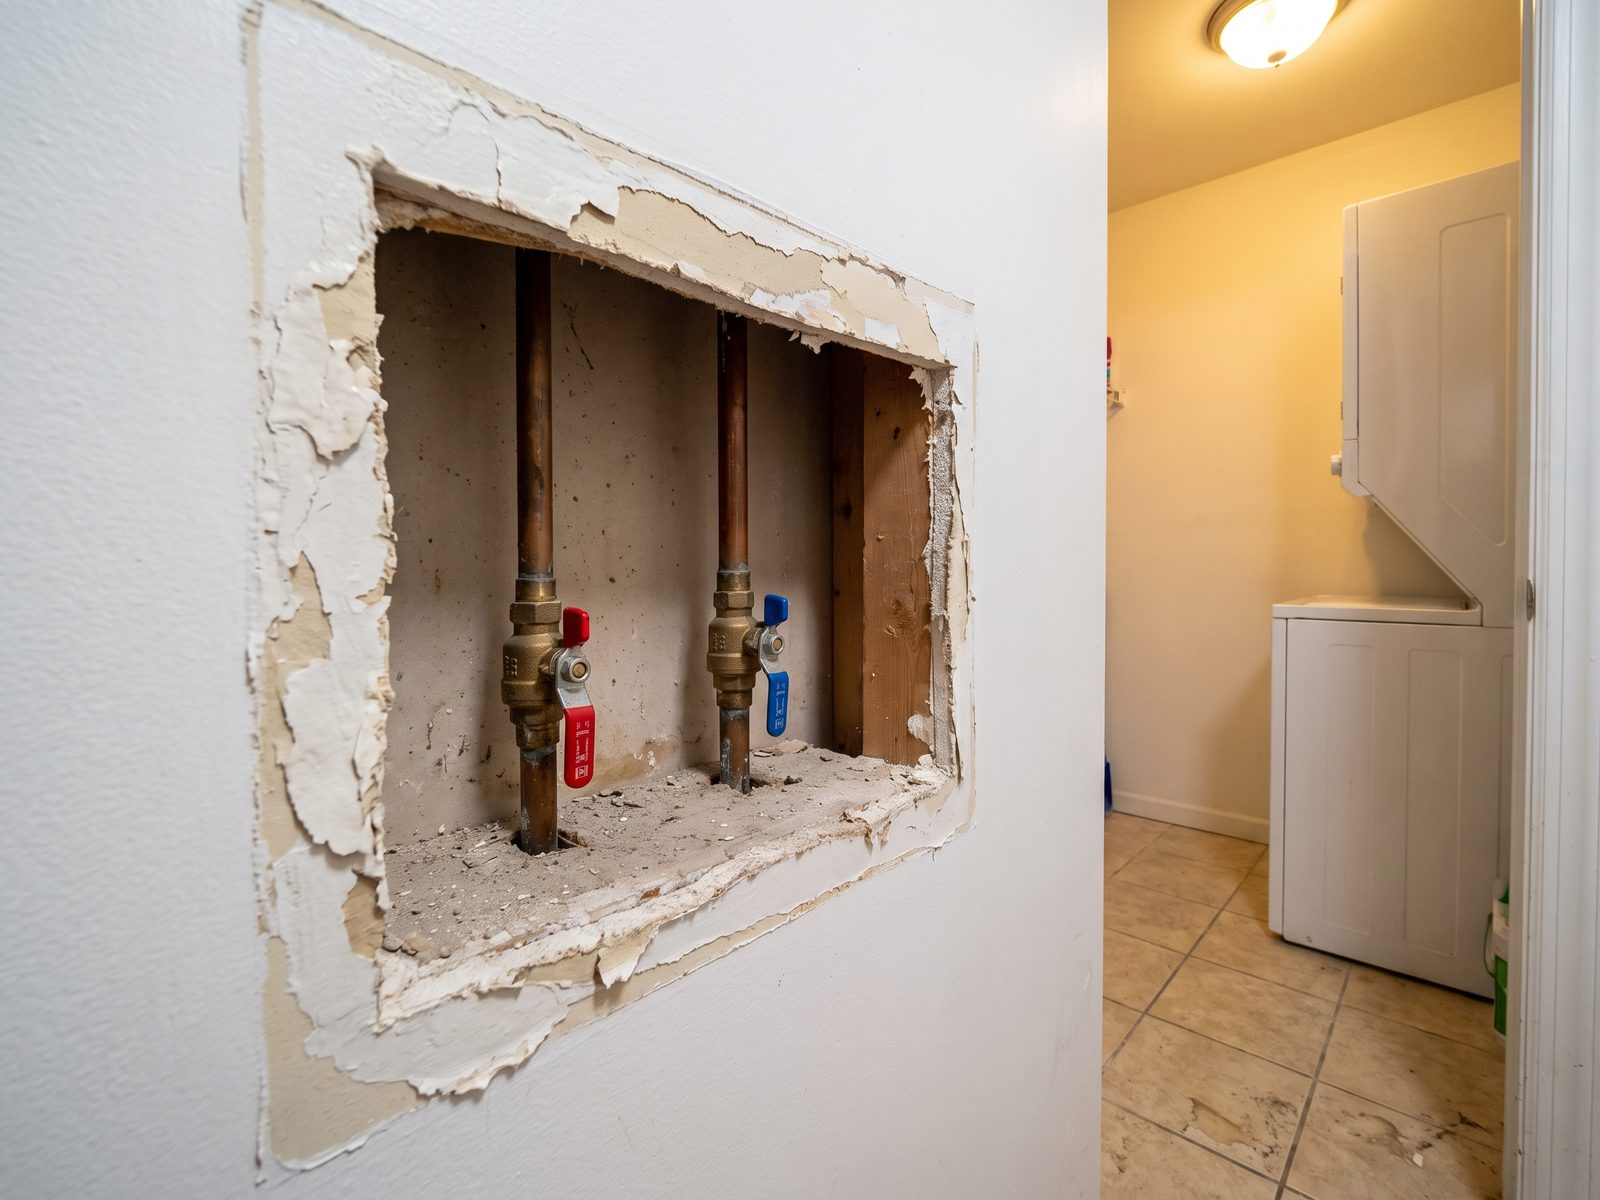
Condos and co-ops follow different rules, and some units have no shutoff of their own. In a newer building the unit is fed from a riser in a common chase, with two valves behind an access panel serving that unit's hot and cold. Look in the laundry closet, the water heater closet or a hallway hatch. The panel is often painted over.
In converted buildings, which the District has many of, the plumbing was adapted rather than designed. A unit may be fed off a branch whose only valve sits in a neighbor's closet or a locked mechanical room. There the working shutoff belongs to the building, and the person who can close it is the engineer.
Do the paperwork side too. Ask management in writing where your unit's valves are and how fast a riser can be isolated at night. Pipes inside a party wall or common chase are usually the association's, and the association's documents, not the plumber, decide who pays for the repair once the water is off.
- Unit valves, when present: laundry closet, water heater closet or a ceiling hatch
- Riser isolation valves: locked mechanical room, building staff only
- Building main: the engineer's call, never a resident's
- The number that matters at 2 a.m. is after-hours maintenance, not the leasing office
How do you test a valve without breaking it?
A valve you have never turned is a valve you do not know. Old gate valves seize, stem packing dries out and scale welds the gate in place. The worst version is a handwheel that spins freely while water keeps running, because the stem has parted from the gate inside the body.
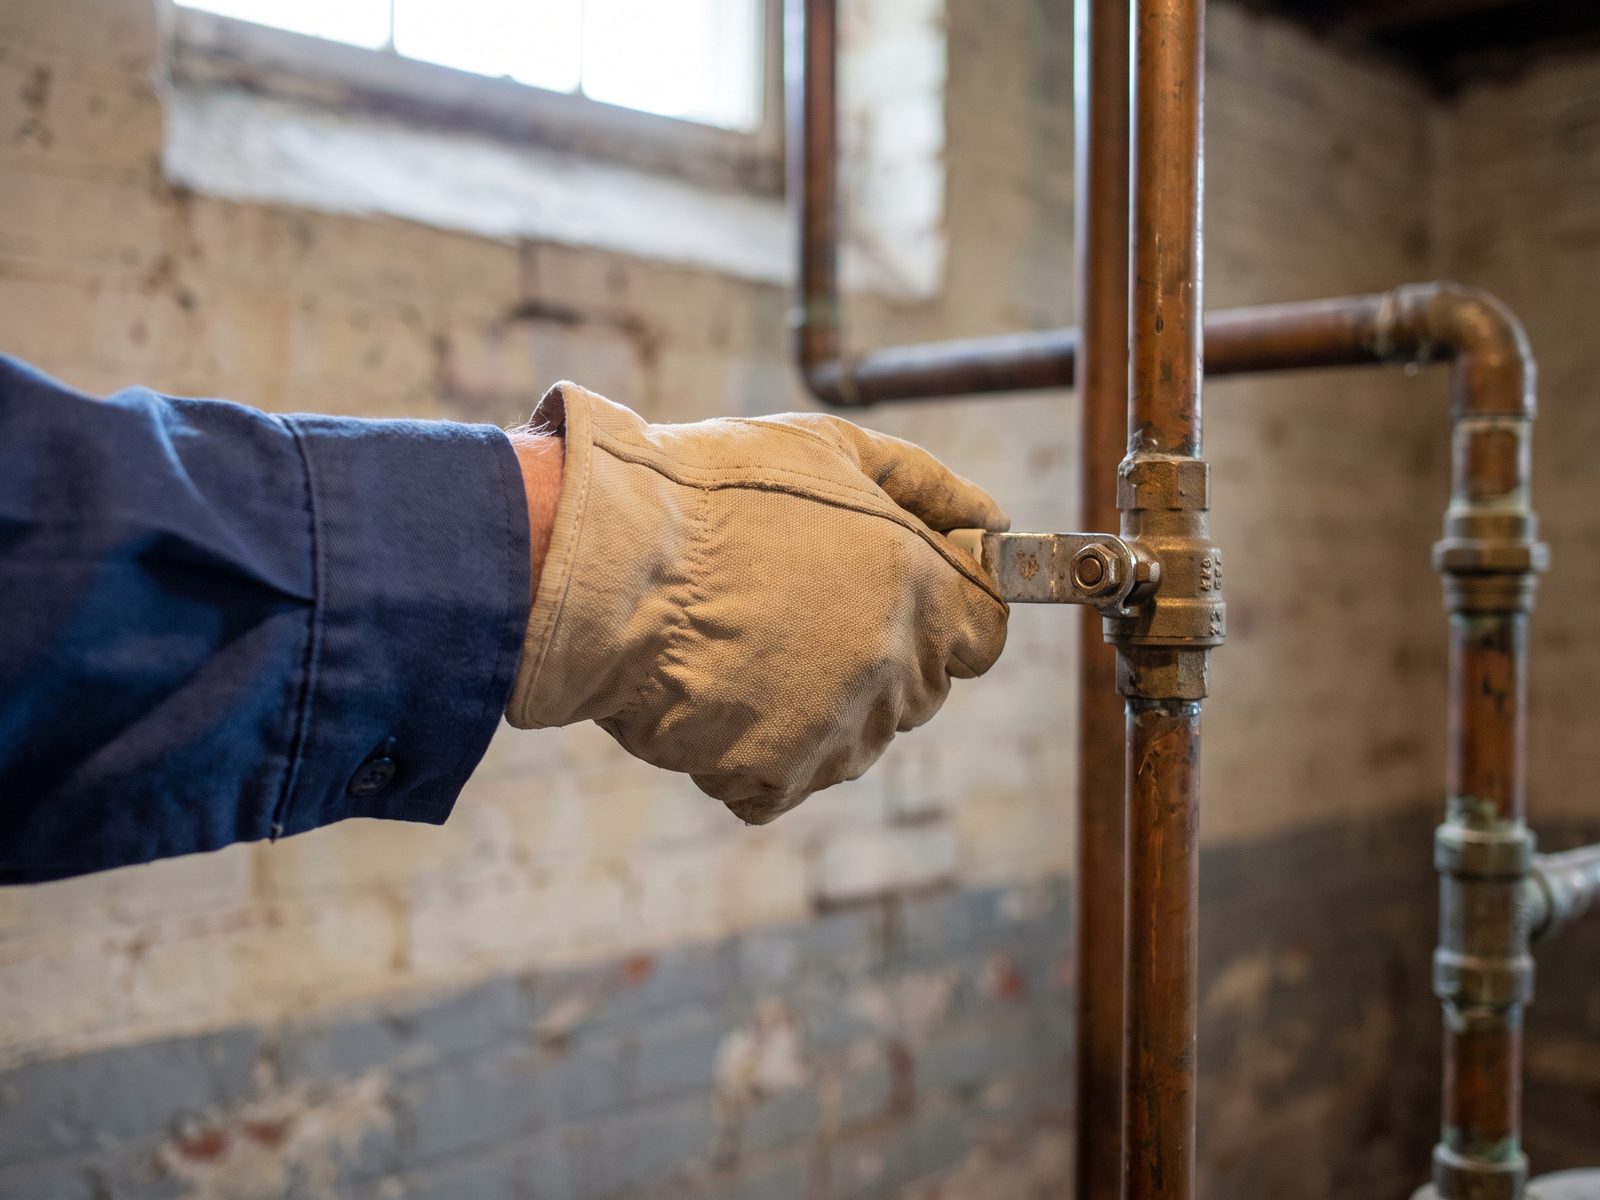
Test it gently on a dry, calm day. Set a gas water heater to pilot or vacation first, so it is not firing on an emptying tank. Then close the main slowly. On a wheel, turn clockwise until it meets firm resistance and stop there.
Check the result at a fixture. Open a first-floor faucet. The stream should fall to a dribble and stop within seconds. If it keeps running, the valve is not sealing. Reopen slowly to full, then back the wheel off a quarter turn so it does not bind. Watch the stem for a weep afterward.
- Pick a dry weekday morning, not the middle of a leak
- Set a gas water heater to pilot or vacation before closing the main, and switch off the breaker on an electric one
- Close slowly, stop at firm resistance and never use a wrench or a cheater bar
- Verify at an open faucet instead of trusting the handle
- Reopen fully, then back off a quarter turn so the stem does not seize
- Repeat twice a year, when you change smoke alarm batteries
What do you do if the valve will not close?
Step back rather than escalating. A seized main is a plumbing repair and the pressure behind it is why. Forcing a corroded body can snap the stem or split the bonnet, and a valve you could not close becomes an open pipe you cannot close either.
During an active leak, work from the other end. Close the fixture or appliance valve nearest the failure. Close the cold inlet on the water heater if the leak is downstream of it. If water is coming through a ceiling, cut those circuits at the panel first. When nothing inside holds, call DC Water and report the leak.
Once the emergency is over, book the plumber, and write down exactly what failed.
What are the secondary shutoffs worth knowing: toilet, sink, water heater and hose bib?
The main is the blunt instrument. Most household leaks stop faster at a local valve, and knowing those keeps the rest of the house in water while a repair happens. Walk the house once and put eyes on each of them.
Local valves are small and cheap, and often the weakest part of the system. Old multi-turn angle stops under a sink or toilet fail the way old mains do, and the plated brass ones from a 1990s renovation are the ones we replace most often.
One D.C. detail: the hose bib. Row houses usually have a single rear spigot fed through an unheated section of back wall. That line is one of the first to freeze and split, and the split shows up inside on the first warm day. Close its interior isolation valve every autumn.
| Fixture | Where the valve is | What it stops | How it fails |
|---|---|---|---|
| Toilet | Angle stop on the wall behind the bowl | Fill valve overflow, supply line burst | Stop seizes, or the nut on a braided line cracks |
| Sink or vanity | Angle stops inside the cabinet at the back wall | Faucet supply lines, a very common small flood | Weeps at the packing after decades untouched |
| Water heater | Cold inlet on the pipe entering the top of the tank | Tank rupture, fitting leak, relief discharge | Wheel seized by scale, or set above easy reach |
| Clothes washer | Paired valves in the laundry box behind the machine | Hose burst, which runs at full pressure | Rubber hoses split at the crimp, valves stick |
| Exterior hose bib | Interior isolation valve on the rear branch | A frozen split inside an unheated back wall | Left open through winter, so the line splits |
What should you do in the two minutes after the water is off?
Closing the valve stops the supply. It does not stop the damage, because water already inside the building keeps moving through floors and walls. Electricity comes first. If water has reached a ceiling fixture or an outlet, kill those circuits before you walk under them.
Then photograph before you clean. Wide shots of each room, then close shots of the failure point and the wet ceiling. Insurers ask for the condition at discovery, and once you have mopped it up that evidence is gone. Note the time you found the leak and the time you closed the valve.
Move what can be saved. Contents off wet floors, blocks under furniture legs, rugs pulled and hung. Then call for help, because extraction inside the first hours keeps a dry-out short. ANSI/IICRC S500, the standard this work is measured against, treats a structure as dry when moisture readings say so and not when a number of days has passed. A row house with plaster walls and original pine floors is usually a drying problem rather than a demolition problem.
If the house was empty when the line let go, the story is usually much larger. Our sister site restorationdoctors.com covers what a burst supply line does to a house nobody is standing in, at https://restorationdoctors.com/blog/burst-supply-line-water-damage-away. It is worth reading before you travel.
- Cut power to any circuit feeding a wet ceiling, fixture or outlet
- Photograph every room and the source before touching anything
- Write down the discovery time and the time the valve closed
- Lift contents off the floor and get rugs out of the water
How do you label it so anyone in the house can find it?
A valve only one person can find is half a valve. The people most likely to be home during a failure are a partner, a basement tenant or a house sitter, and none of them will trace a pipe under pressure. Labeling is the cheap half of this exercise.
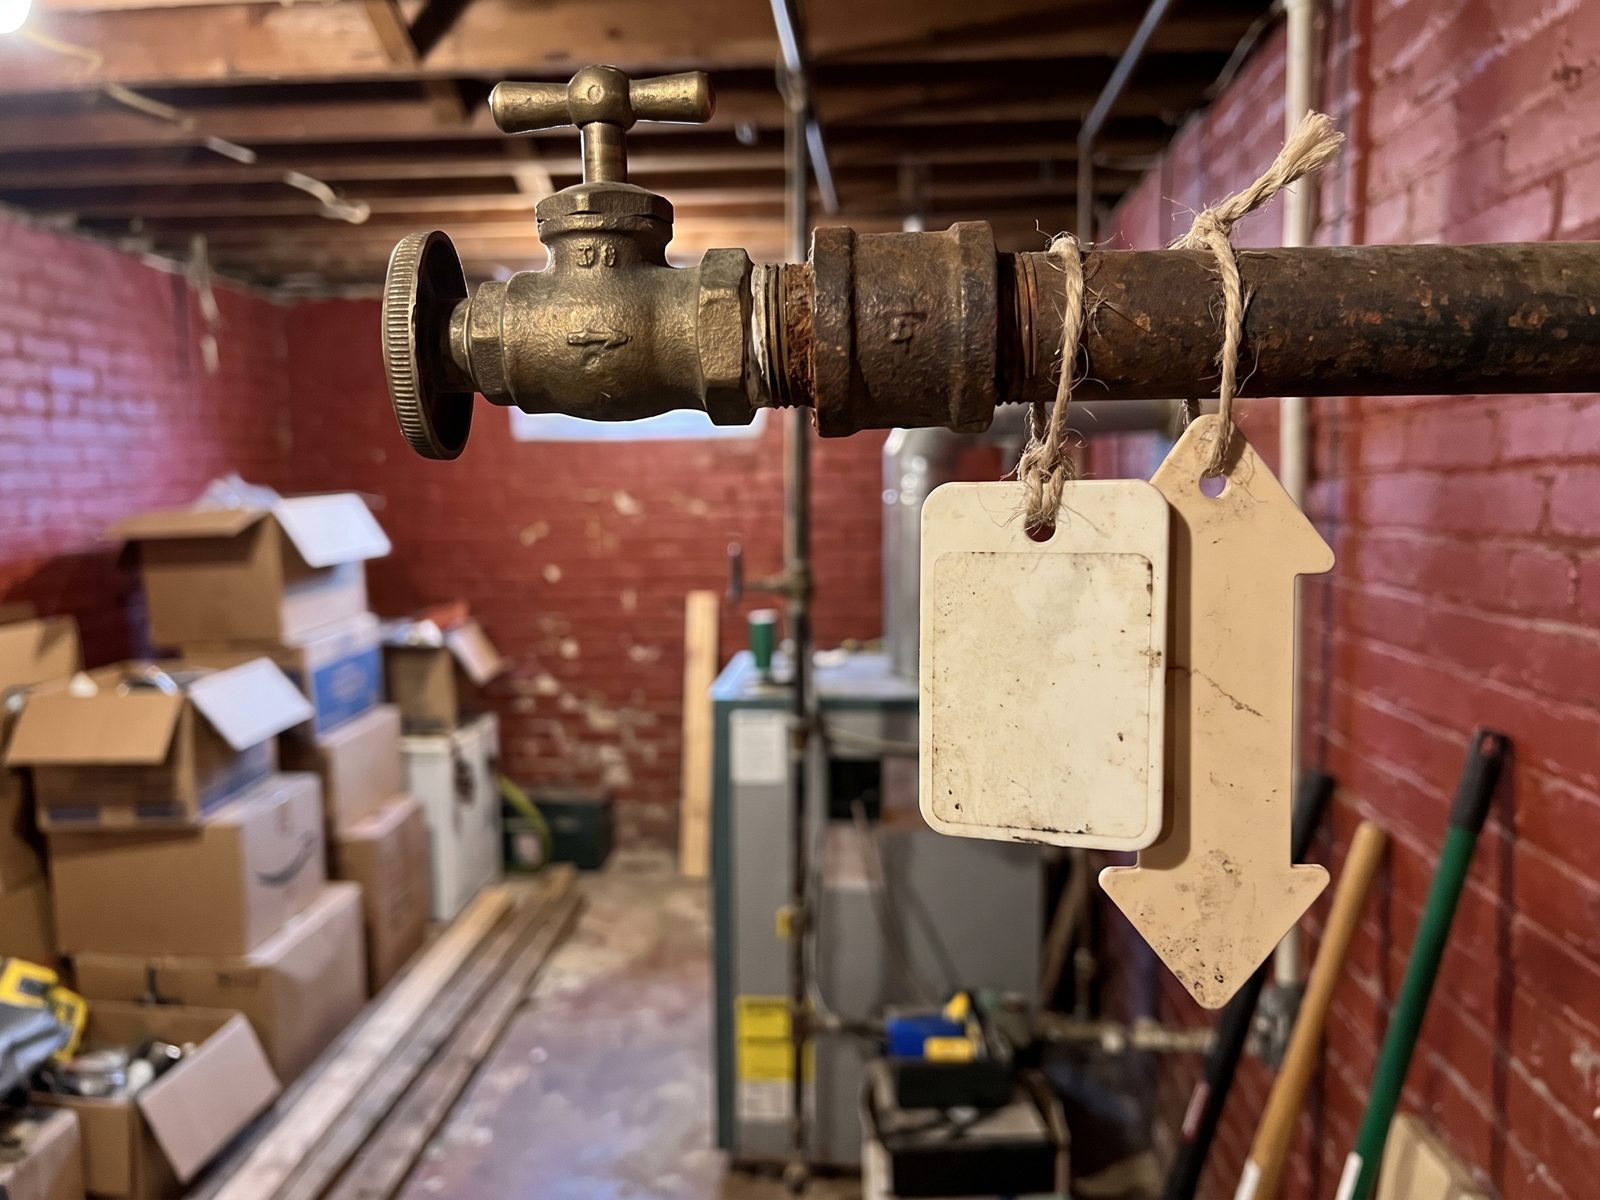
Use a plastic or metal tag on a wire tie at the valve, marked MAIN WATER SHUTOFF. Add a second arrow tag at the foot of the basement stairs. Hang the flashlight beside the valve rather than in a kitchen drawer. On a handwheel, note which way closes, because a stressed person guesses wrong.
Then do the part people skip. Walk everyone who sleeps in the house down to the valve once and let them put a hand on it. Repeat the walk whenever a tenant changes.
For a rental or an English basement apartment, tell the tenant in writing where the valve is and whether they may use it. They are often the person standing in the water at 2 a.m.
The primary guidance behind this article is listed below.
- A durable tag at the valve reading MAIN WATER SHUTOFF, never paper tape
- An arrow tag at the foot of the stairs pointing the way
- A photo with a landmark in frame, shared to more than one phone
- The after-hours plumber or building engineer number saved beside it
- Sources: ANSI/IICRC S500, the consensus standard for water damage restoration: https://iicrc.org/s500/
- Sources: Ready.gov, Safety Skills, on finding, tagging and testing the main water valve and leaving the street valve alone: https://www.ready.gov/safety-skills
- Sources: DC Water, preparing for a water emergency, including the utility's own instructions for finding and closing the main valve: dcwater.com/resources/emergencies/preparing-water-emergency
- Sources: DC Water, what to do in a water emergency, on contacting the utility for shut-off instructions: dcwater.com/resources/emergencies/responding-water-emergency